Combining DoodlePippin and Fired Ink Tiles

If you have different tiling 'requirements' in the same area, it is tempting to mix the two finishes. For example, to use the Fired Ink finish where they need to be flame / heat and scratch proof, and the original DoodlePippin finish version everywhere else.
But in general, I would advise against using a mix of Fired Ink and DoodlePippin finish in the same area.
This is because:
1: The base tiles are different:
DoodlePippin tiles are lighter-bodied, made from ceramic, and a bit thinner than the Fired Ink version, which are usually made from porcelain, heavier, thicker and harder.
DoodlePippin tiles are lighter-bodied, made from ceramic, and a bit thinner than the Fired Ink version, which are usually made from porcelain, heavier, thicker and harder.
2. They are different sizes:
Fired Ink are likely to be at least a couple of millimetres smaller or larger than the DoodlePippin version.
Fired Ink are likely to be at least a couple of millimetres smaller or larger than the DoodlePippin version.
3: The colours won't be the same:
Fired Ink colours tend to be softer and more muted than the DoodlePippin version of the same tile. In some cases the colours are significantly different from the DP original.
Fired Ink colours tend to be softer and more muted than the DoodlePippin version of the same tile. In some cases the colours are significantly different from the DP original.
4: The finish / shine will be different:
The 'gloss' Fired Ink tiles are also slightly less shiny than the DP version, as a result of their trip through the kiln.
The 'gloss' Fired Ink tiles are also slightly less shiny than the DP version, as a result of their trip through the kiln.
The upshot is that running Fired Ink and DoodlePippin tiles together will result in - at best - a fairly obvious change in shine and colour, and at worst, a very obvious 'step' in your grout lines, thanks to a few millimetres difference in the size of each tile.

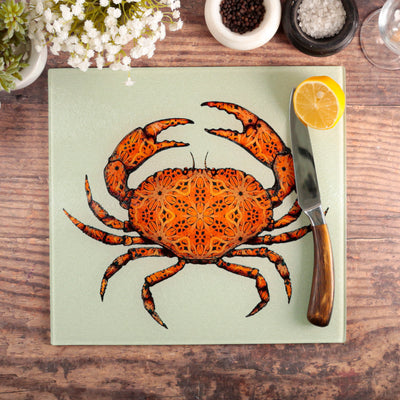
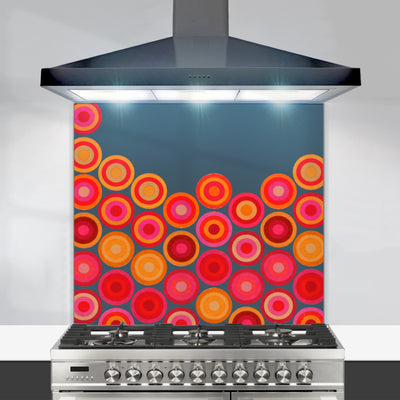
But there’s nothing to stop you from using different finishes in different areas. So put the vibrant, glossy DoodlePippin version in a serving area, with the flame resistant Fired Ink version behind your gas hob.
And of course, there’s nothing to stop you using the Fired Ink finish for your whole scheme.
Need more info? Have questions?